
The best way to tackle post-construction mess in Hampton Wick
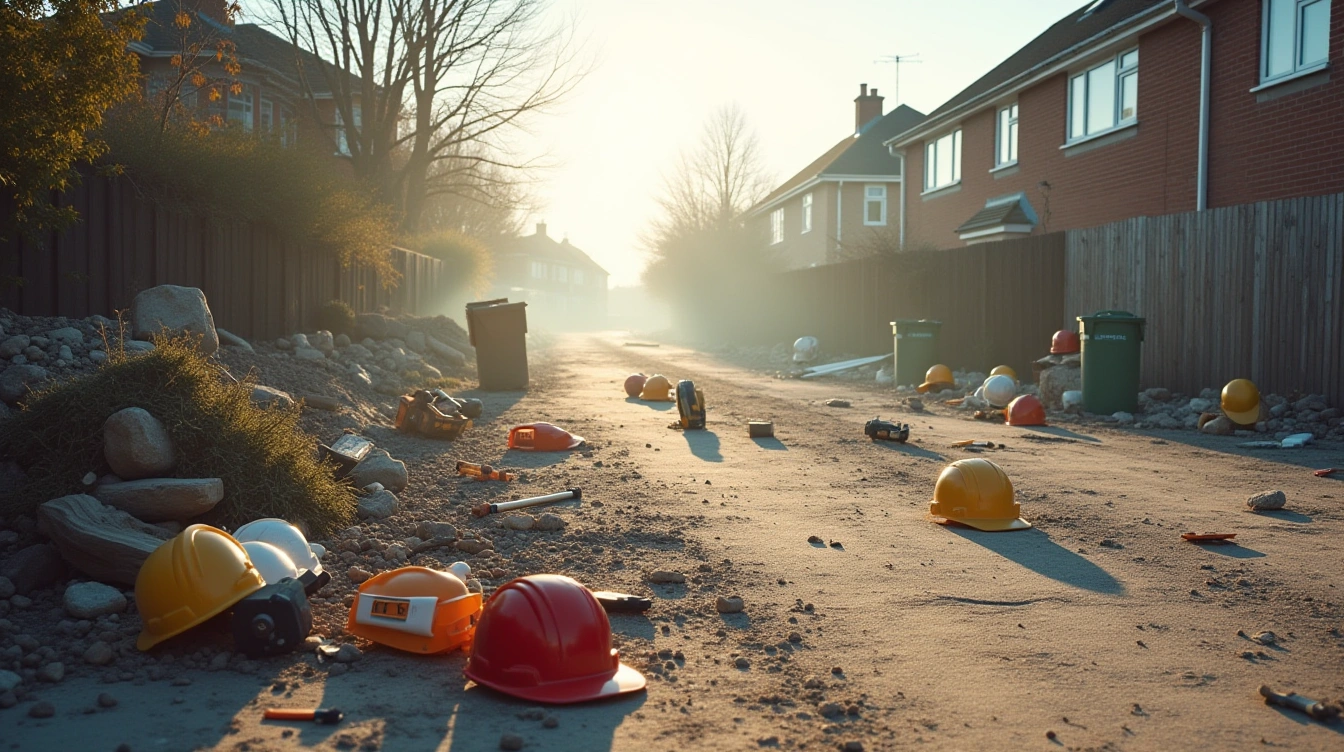
Renovating your home in Hampton Wick is an exciting journey, but the aftermath often reveals a daunting post-construction cleaning challenge. Dust covers every surface, debris hides in corners, and the fresh look you anticipated seems concealed beneath persistent residue. Facing this extensive clean-up may feel overwhelming, but with the right approach, your newly improved space can quickly become the oasis you envisioned.
Understanding post-construction cleaning
After-renovation cleaning demands far more than a routine tidy-up. Fine particles, stray building materials, and stubborn marks require a specialized, methodical approach. This process addresses not only visible dirt but also hidden residues that can impact air quality or even damage your new finishes if ignored.
Have you seen this : Innovative frosted window film: privacy meets style
If you need expert help for especially thorough results, you may want to consider services like after builders cleaning Hampton Wick. Whether you’ve updated a single room or transformed your entire home, using thorough cleaning methods and tools is essential. An organized strategy helps keep tasks manageable and ensures minimal disruption to your daily life.
Essential preparation for cleaning after building work
Preparation is key to making your post-construction cleaning both efficient and safe. Taking a few proactive steps before starting will save time and help protect your new surfaces, as well as your health.
Also to read : What Are the Key Challenges Facing the UK’s Home News Sector?
Dust from sanding or drilling can linger for days. By establishing clear zones and using proper protective gear, you lay the groundwork for a smoother cleaning process.
Setting up containment and barriers
Containing dust and debris is crucial to prevent cleaned areas from becoming dirty again. Containment and barriers—such as plastic sheeting, painter’s tape, and temporary door covers—act as the first defense against mess migration. This approach keeps dust confined to specific zones, speeding up progress and safeguarding finished spaces.
Sealing vents and doorways also helps localize airborne particles, making it easier to clean one room at a time without repeating work elsewhere.
Gathering cleaning methods and tools
The right equipment turns an overwhelming job into manageable tasks. Microfiber cloths are excellent for attracting fine dust, while HEPA filter vacuums capture what standard vacuums miss. Washable mop heads provide control over wet cleaning, which is vital for removing persistent residue after construction.
A comprehensive kit usually includes:
- 🧹 HEPA vacuum cleaner
- 🔧 Sturdy dustpans and brushes
- 🪟 Window squeegees
- 🧽 Microfiber towels and mop heads
- 😷 Gloves and dust masks
Cleaning tips and checklists for every part of your home
An effective cleaning process involves breaking down tasks with a structured cleaning checklist, ensuring no area is missed. Tracking progress this way highlights which rooms may need another pass and brings order to what might initially feel chaotic.
Tackle rooms systematically—from high points like shelves and ledges down to floors—to avoid recontaminating cleaned surfaces with fresh debris.
Room-by-room cleaning strategies
Each space presents unique challenges after renovation, but targeted tactics make the job simpler. In living areas, start by removing large debris with robust tools, then address finer dust on cabinets and shelves. Wet-wiping these surfaces locks in stray particles and restores their shine.
Kitchens and bathrooms require extra attention to grout lines, fixtures, and appliances, which often collect plaster or paint splatters. Using detailed checklists ensures that even hidden spots are thoroughly addressed.
Effective ways of cleaning windows and doors
Cleaning windows and doors is essential, as glass often accumulates fingerprints, caulk, and plaster flecks. Begin by brushing sills and tracks with soft, dry tools. Apply a gentle cleaner with a non-abrasive sponge, then finish by buffing with microfiber towels for a streak-free result.
For door panels—especially those recently painted—use lightly dampened cloths and spot-clean construction stains to avoid damaging wood or fresh paintwork.
Focusing on dust, debris, and deep-cleaning tasks
Persistent dust can lower air quality and diminish the beauty of your renovation if not properly addressed. Consistent, repetitive routines are necessary during the initial days after construction ends to ensure all traces are removed.
Deep cleaning transforms your home by removing stubborn marks and hidden buildup left by contractors. This final step unveils the true quality of your new finishes and prepares your space for comfortable living.
Techniques for cleaning dust and debris
Vacuum all horizontal surfaces—including tops of doors and inside cabinets—with a HEPA vacuum. Static-charged microfiber mops are more effective than brooms for floors and skirting boards. Move methodically through each room, working from upper ledges downwards to ensure thoroughness.
Remember less obvious spots like inside light fixtures, air vents, and beneath appliances, where construction grit often lingers unnoticed.
Deep-cleaning surfaces and restoring lustre
Once dust is controlled, focus on deep-cleaning surfaces. Pay special attention to walls, cabinets, and shelves, targeting paint smudges or adhesive marks with suitable products. For tile or hard floors, use gentle scrubs that match each material to avoid scratches or water damage.
These final touches revive colors and textures, ensuring your renovated home remains beautiful and welcoming for years ahead.
| 📌 Task | 📍 Area | ⏳ Frequency |
|---|---|---|
| 🧹 Dust removal | All rooms | Daily (until settled) |
| 🪟 Clean windows/doors | Windows & doors | Every 2 days initially |
| 🧽 Wipe surfaces | Walls, cabinets, shelves | Daily for first week |
| 🧴 Deep-clean floors | Kitchens & bathrooms | Twice in first week |
Answers to common questions about post-construction cleaning in Hampton Wick
Which cleaning methods and tools are best for post-construction mess?
HEPA-filtered vacuums are most effective for removing fine particles left behind after building work. Microfiber materials excel at attracting small dust, while squeegees and soft sponges are ideal for glass and smooth surfaces.
- 💡 HEPA vacuum cleaners
- 🧼 Microfiber cloths & mops
- 🧽 Non-abrasive sponges
- ⚠️ Nitrile gloves and dust masks
How soon after construction should deep cleaning begin?
Start deep cleaning as soon as contractors remove their equipment and major debris. Acting quickly prevents dust from spreading and reduces the risk of long-term stains on new finishes. Prioritize easily accessible rooms first for an efficient workflow.
What is included in a post-construction cleaning checklist?
A thorough post-construction cleaning checklist covers everything from ceiling dusting to careful washing of high-contact surfaces. Each room should be checked for dust, debris, glass smears, paint marks, and adhesive residues.
- 🧹 Dust ceilings, ledges, shelves, and sills
- 🚪 Clean doors, handles, and frames
- 🪟 Wash internal windows, screens, and mirrors
- 🛋️ Wipe walls, baseboards, and light switches
- 🧼 Mop and sanitize flooring
Why is containment necessary during after-renovation cleaning?
Containment and barriers limit cross-contamination between rooms being cleaned and untouched areas of your home. This technique speeds up the cleaning process and reduces the spread of airborne dust.
- 🔒 Use plastic sheets to block open doorways
- 🚪 Temporarily seal off unused rooms
- ⚙️ Cover air vents until final deep-cleaning ends